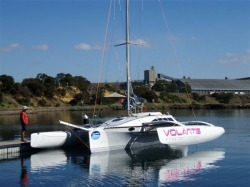
It should look something like this when it's done. A Farrier 32 trimaran
This isn't meant to be a 'how to build a trimaran' page, if you want that go to www.f-boat.com/ or www.fram.nl/ for the best info.
I take pictures from time to time and it is nice to set them out as log of what I have done to date.
I you want to discus any bits of the project - drop me a line [email protected]

THANKS to my suppliers ;Wessex Resins
Marineware Impag Krueger Marine Proboat Ambrow Trailers Precision Fabrication G P Sails RIBS Marine Engines |
...... of course!
|
MONTHLY PROGRESS [Or lack of] PICTURES:-
Latest pic; 6/5/12 - Dressing the mast
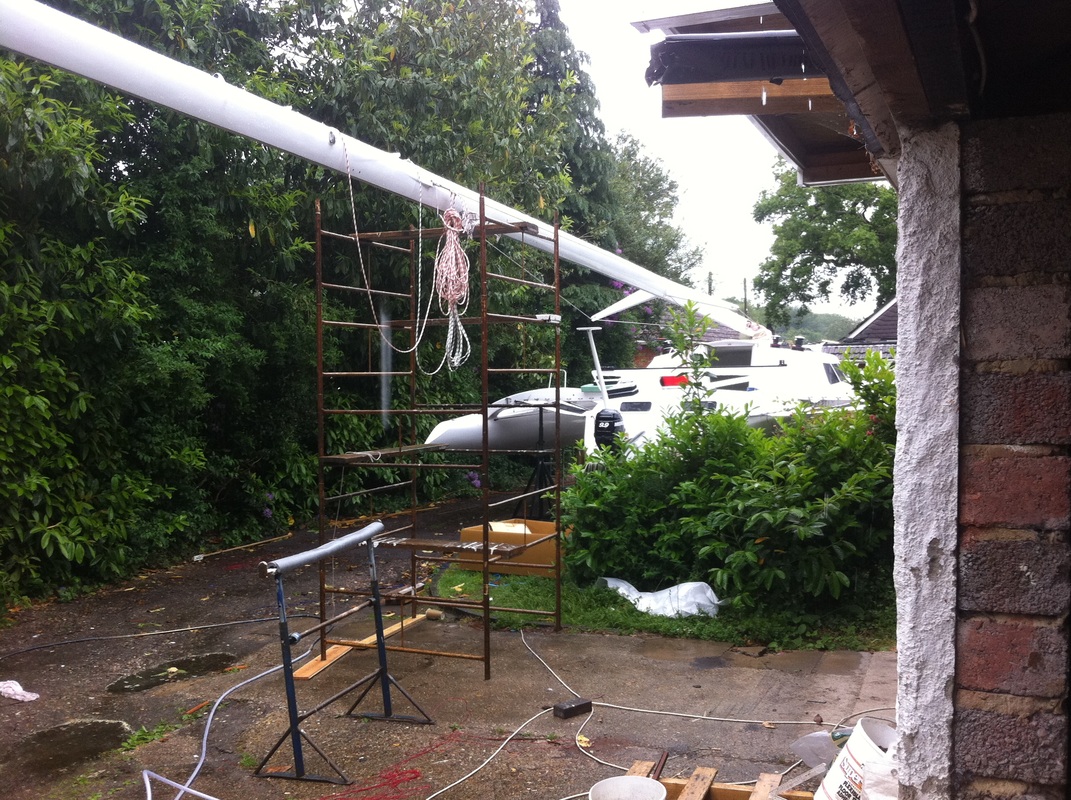
Sorry, rubbish picture, but it was pouring with rain all day
Getting the halyards,shrouds and bits all sorted has taken for ages, but it is almost ready to raise now.
Getting the halyards,shrouds and bits all sorted has taken for ages, but it is almost ready to raise now.
1/12/2007 - Laying the keel
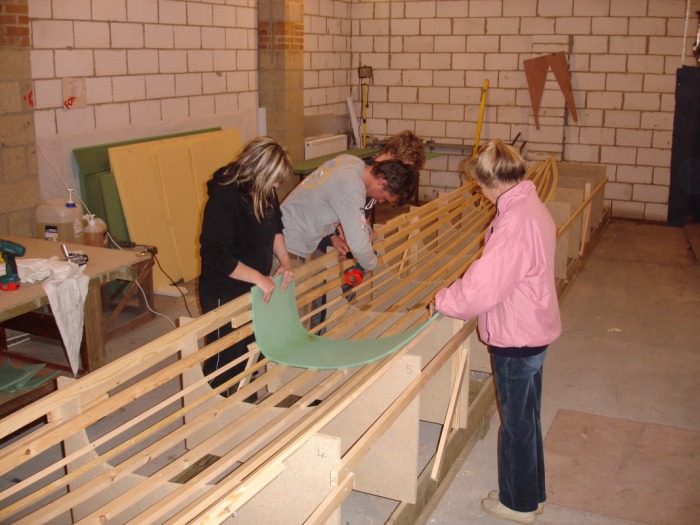
Claire, Luke, Adam and Pauline start to build. This is the 1st strip of foam going into the formers for the float half.
The shed looks huge [and tidy!]
The shed looks huge [and tidy!]
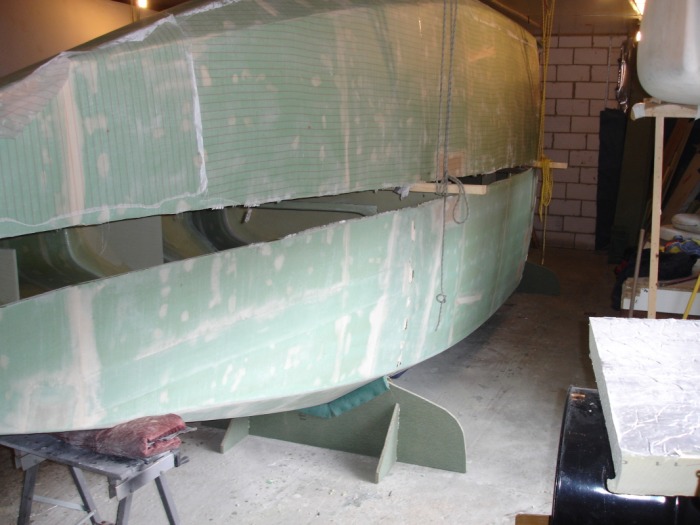
1/1/2008

Both floats joined and getting ready for outside skin of glass
Not a very clever idea to use green foam with yellow filler - looks messy!
Not a very clever idea to use green foam with yellow filler - looks messy!
1/2/2008
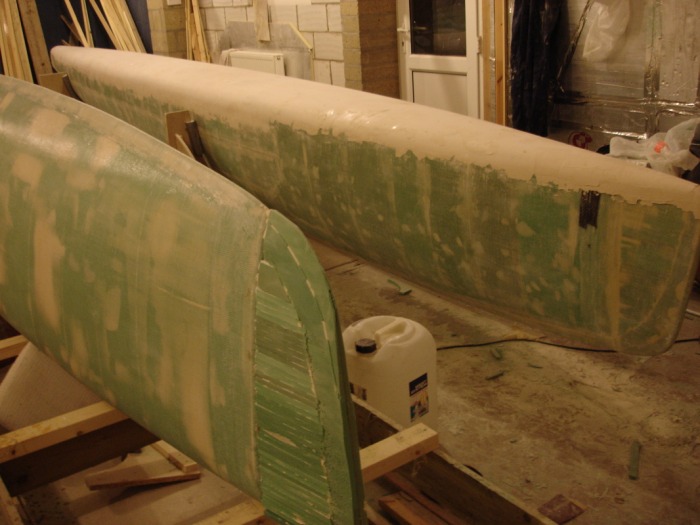
Floats glassed on the outside. Shaping the bows and starting to add the fairing compound
18/3/2008
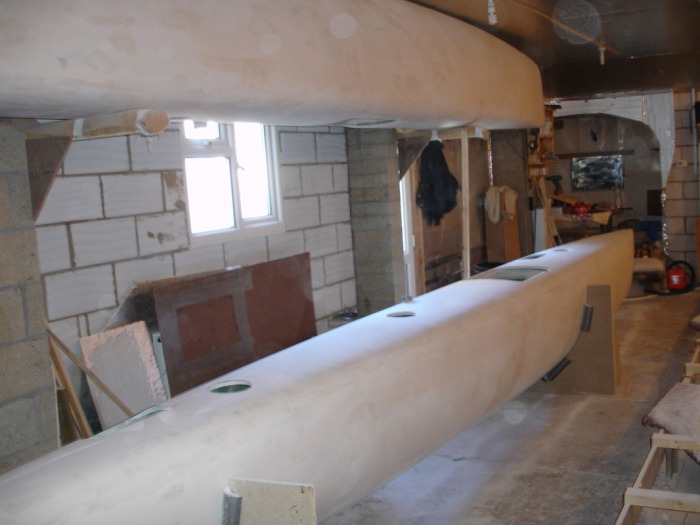
Floats ready for paint. Thats enough of that for a while, put them up out of the way for a couple of years.
14/4/2008
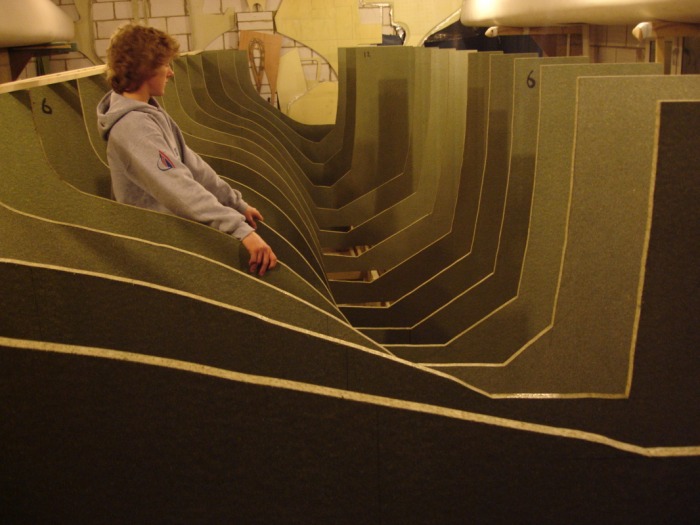
Formers cut out and set up ready for main hull half. Main hull bulkheads made and hanging on end wall ready to drop in.
30/5/2008
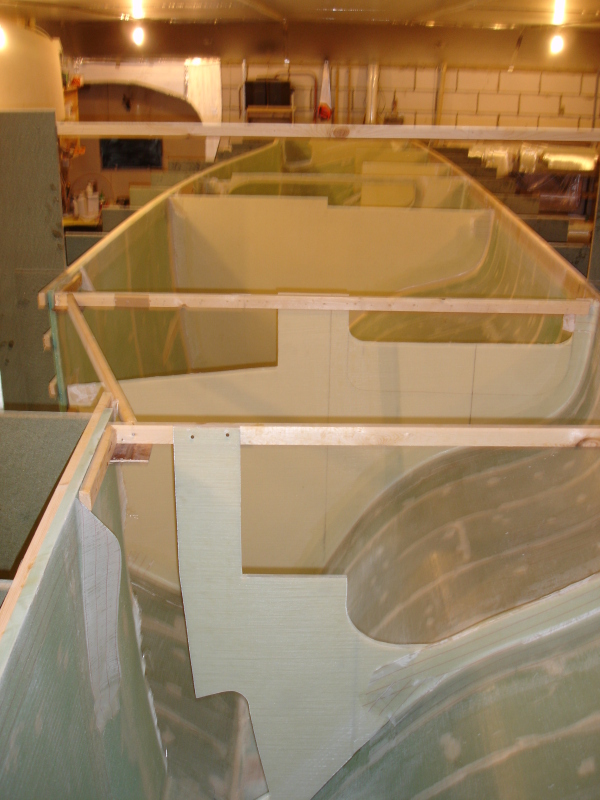
Inside glassed and bulkheads fitted,ready to come out of former
13/7/2008
The two halfs meet! Good fit too!
I had to remove the bottom half from the formers and strong back, because I am really pushed for headroom
I had to remove the bottom half from the formers and strong back, because I am really pushed for headroom
13/9/2008

Looking like a boat now
Joins done inside and out. Daggerboard case fitted
Joins done inside and out. Daggerboard case fitted
18/10/2008

Up till now, I have be able to do most of it myself, but laying up the bow pole and vacuum bagging it inside drainpipe is not a solo job. Even with this many hands, the 1st one came out as a hideous mutation. #2 is a beaut though.
You can see that the beam mounts are fitted [Behind Claire's head]
You can see that the beam mounts are fitted [Behind Claire's head]
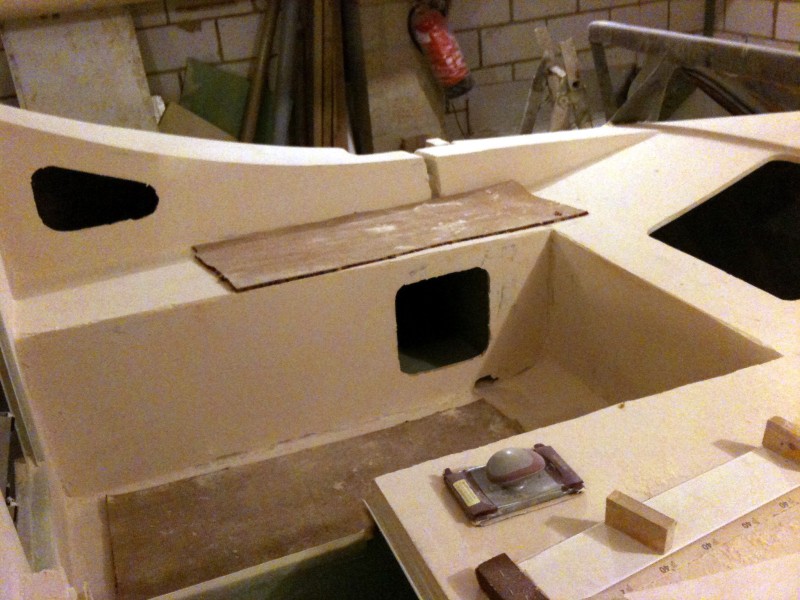
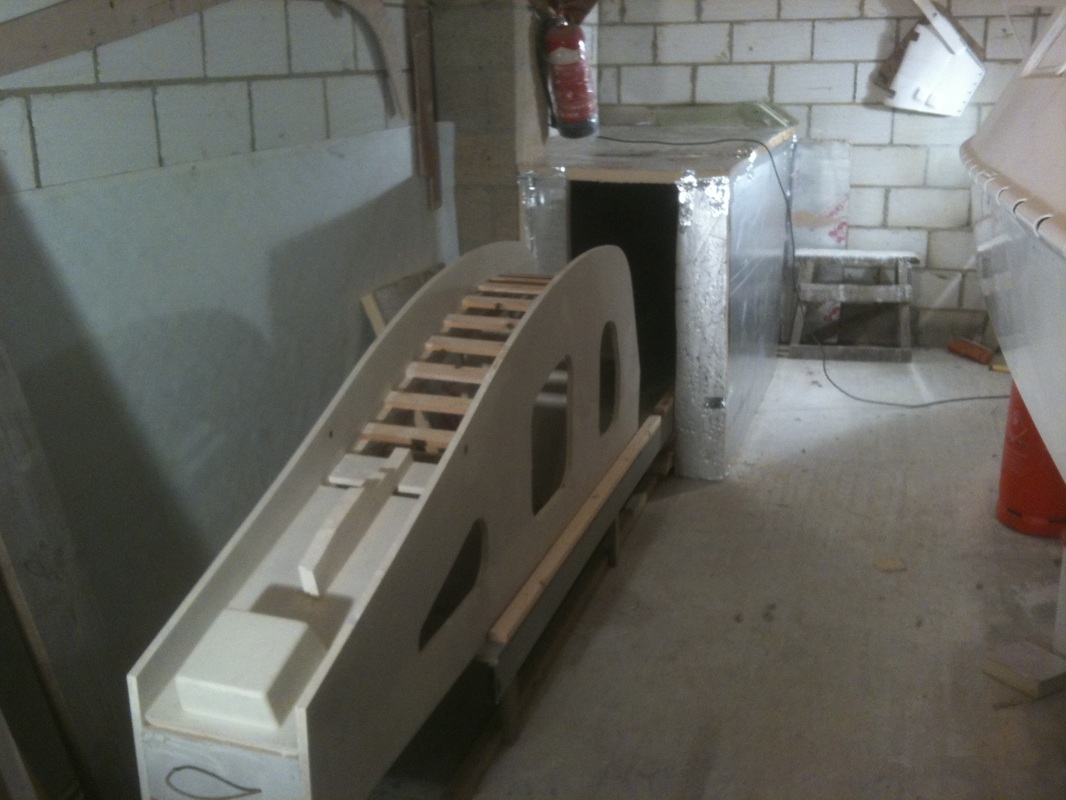
8/12/2008
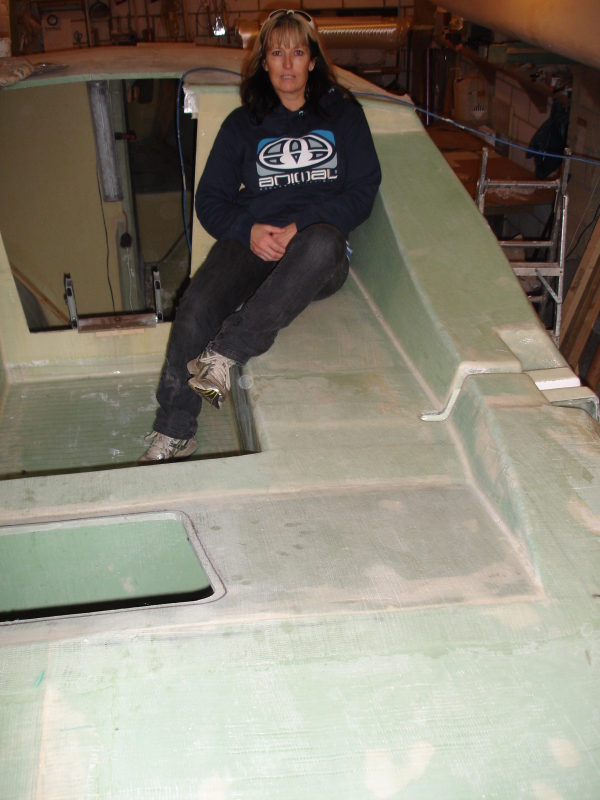
Trying out the cockpit for size
Modification made [With Ian Farrier's approval] to cockpit/aft cabin entrance so that we can lay along seats. This also allows wider hatch to aft cabin
Modification made [With Ian Farrier's approval] to cockpit/aft cabin entrance so that we can lay along seats. This also allows wider hatch to aft cabin
3/3/2009

Traveller, tramp rails and rudder bits done
23/3/2009
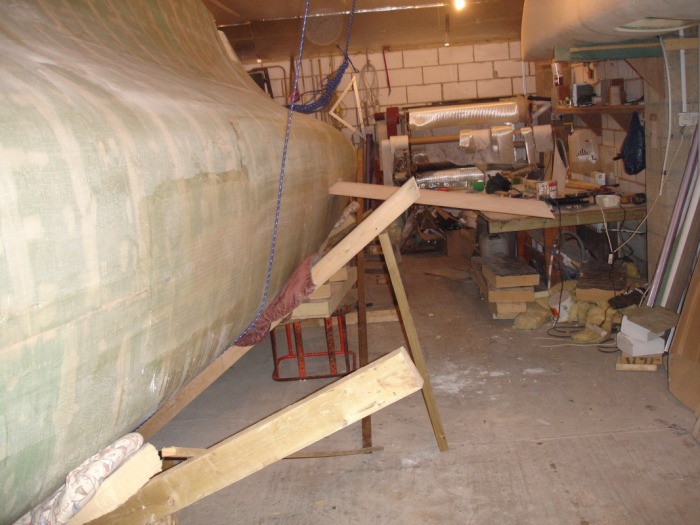
Boat on its side for trial fit of the daggerboard
25/8/2009
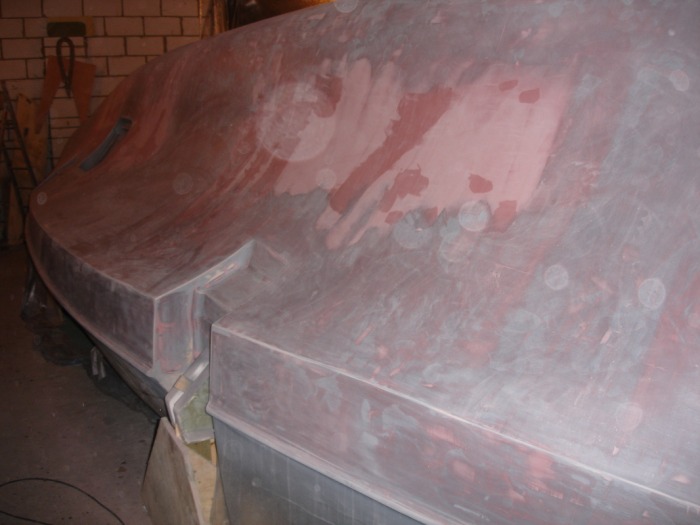
All the way upside down for endless filling and fairing!
11/9/2009
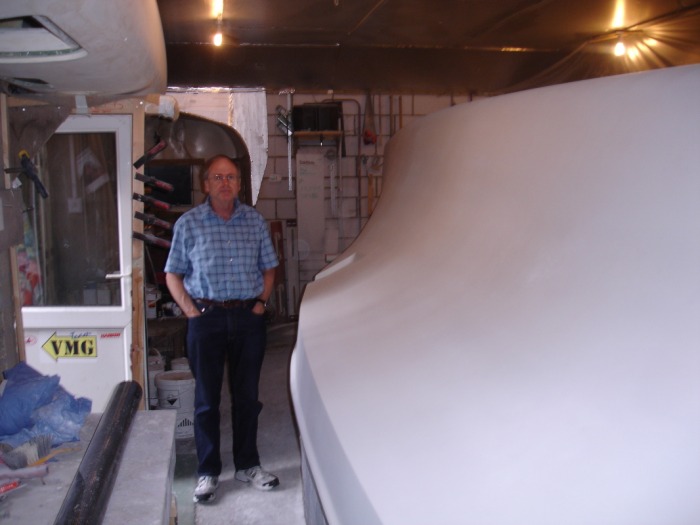
Primed up ready for the guvnor's visit. Ian Farrier comes all the way from Christchurch [NZ] to Christchurch [UK] to check it out.
HE SAY YES!
HE SAY YES!
26/9/2009
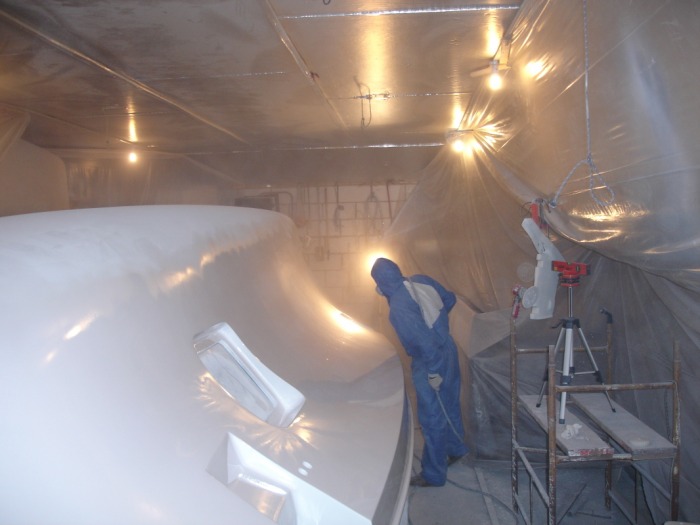
Gary in full flight with the Awlgrip topcoat.
I was going to work out the flow rate of the spray gun in £/second but thought better of it!
I was going to work out the flow rate of the spray gun in £/second but thought better of it!
25/10/9
Thanks to all Adams mates, Gary and Ben [Mr Commodore] that helped me turn the main hull upright.
The paint job looks great
I am getting on with cockpit lockers etc. now
The paint job looks great
I am getting on with cockpit lockers etc. now
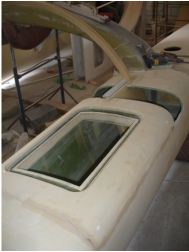
15/12/2009

Sliding hatch, tracks and cowl fitted
Windows cut out. I have rebated the window surrounds so that the perspex will fit flush.
Windows cut out. I have rebated the window surrounds so that the perspex will fit flush.
15/1/10
The rudder components went together well, this is the full kick-up & daggerboard gizmo. Lots of work but, with the number of nets and pots in Christchurch Bay, should be worth the effort.
The core for the tiller is clamped in place to get the shape right before laminating. Getting it right involved plenty of pretend helming!
The core for the tiller is clamped in place to get the shape right before laminating. Getting it right involved plenty of pretend helming!
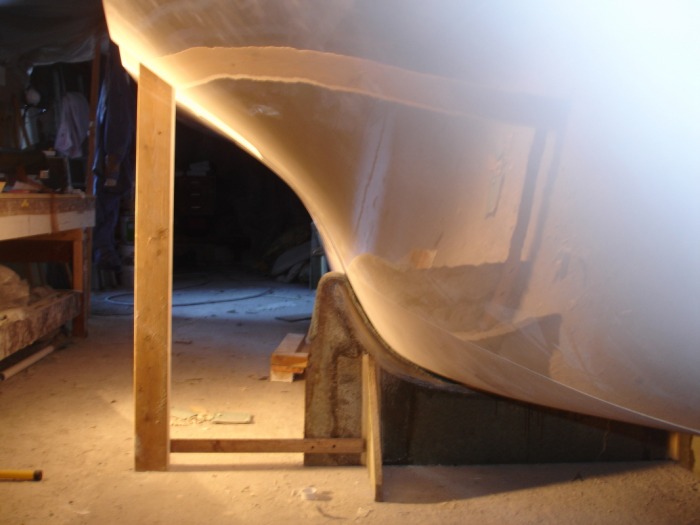
24/2/10
Filling and fairing, fairing and filling!
Not as tricky as the bottom half of the main hull because the surfaces are smaller and there are no big concave shapes.
It's important to get all the edges nice and straight because you will be able to sit and eye along them. For this reason, I finish them sharp first and only round them over on the last sanding session
20/3/10
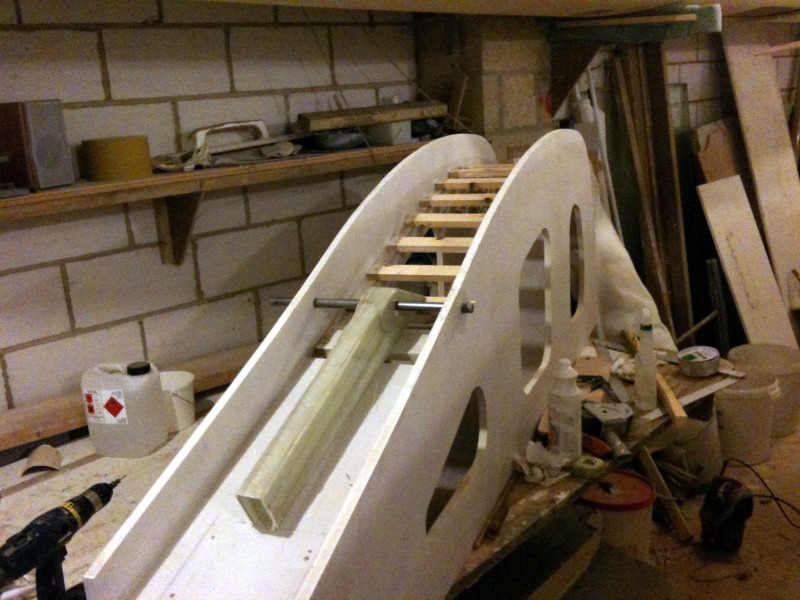
As a change from filling and fairing, the former/mould for the beams is under way.
The plans for this bit are quite hard to get your head round, but like the rest of it, if you tackle one step at a time, it all falls into place.
Accuracy is important here as the geometry of the folding gear is at stake.
Must have a tidy up!
The plans for this bit are quite hard to get your head round, but like the rest of it, if you tackle one step at a time, it all falls into place.
Accuracy is important here as the geometry of the folding gear is at stake.
Must have a tidy up!
19/4/10

I have stuck the last of the green hull foam together for the front of the starboard seat and got hold of more of the yellow Corecell and am now cracking on with the interior fitout.
I love working with this stuff, you can cut it with a knife and screw it together like some sort of lightweight MDF.
Ian shows some pretty complex patterns on his plans and I mark and cut them out fully expecting to have to hack some more off or stick bits on - but the most they need is the edges beveling to suit the hull! Must mean that the plans are good and that I have got the thing the right shape too!
20/5/10
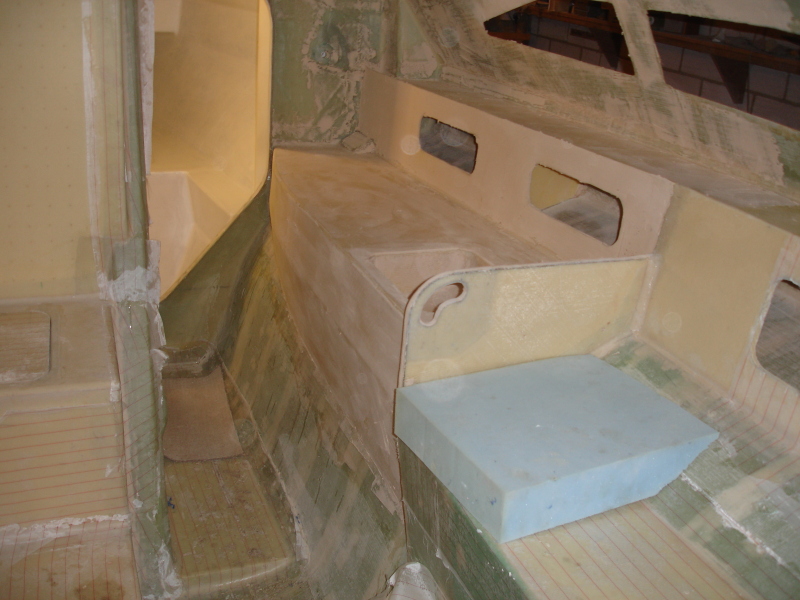
The basic interior furniture is in place
Filling and fairing will be minimal except where the surface is in your face and needs to be smoother
Filling and fairing will be minimal except where the surface is in your face and needs to be smoother
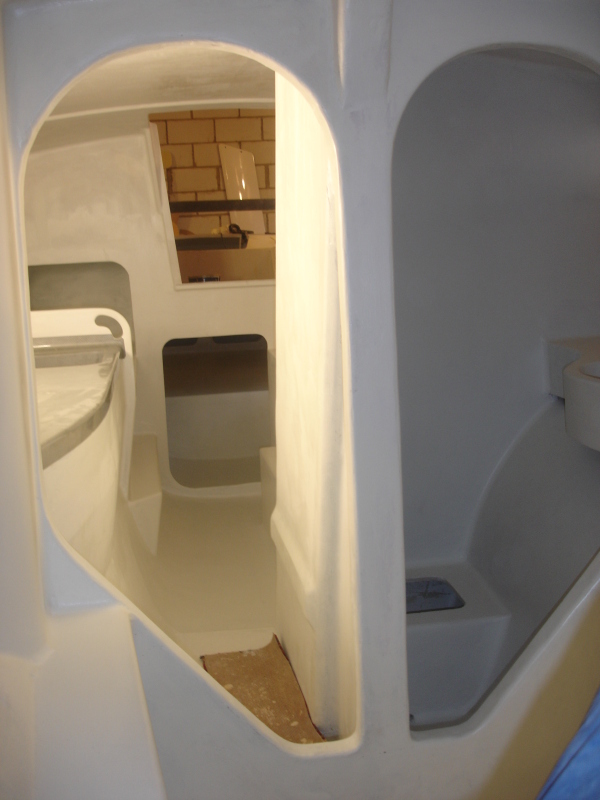
6/6/10

The first coat of paint to the WC compartment makes it a much airier place to be
Not a lot of room, but if you sit on the WC, using the basin and shower will be fine
The shower will drain through the hole into the tank under the WC, where there will be a float switch and pump.
Not a lot of room, but if you sit on the WC, using the basin and shower will be fine
The shower will drain through the hole into the tank under the WC, where there will be a float switch and pump.
25/7/10
Slow month! Lots of other stuff going on
The basic interior is done with a coat of epoxy paint throughout.
Now on to finishing filling and fairing the topsides
The basic interior is done with a coat of epoxy paint throughout.
Now on to finishing filling and fairing the topsides
5/11/10

Topside paint is mostly done.
Some areas are a bit thin and need another coat, but that will have to wait till the weather gets a bit warmer
Some areas still need to be wet & dried and polished - but I have had enough of that for now.
The center deck areas are a bit bald because I will be doing grey non-skid there and there is no point in painting it twice [Have you seen the price of Awlgrip!]
12/12/10
I have been working all hours so have not had time or energy to get anything done on the boat for a while. But that is under control now and I am getting my head back to the boat build
Too cold to do spraying, so I have cleared out a corner and built a hot box/oven that the beam mold will slide into.
I will try and get on with beam building over the Christmas break
Too cold to do spraying, so I have cleared out a corner and built a hot box/oven that the beam mold will slide into.
I will try and get on with beam building over the Christmas break
26/12/11
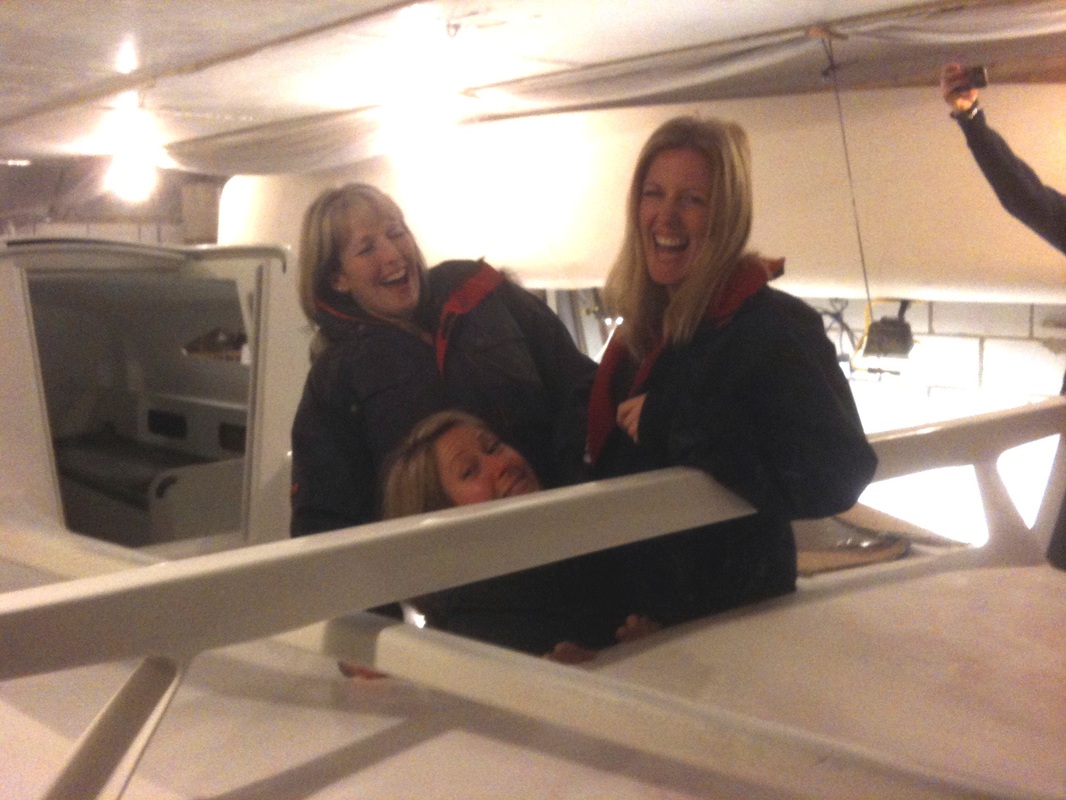
I cleaned the boat out ready for 'tours' when the family and friends visited for Boxing Day
Having been a bit concerned about access through/to the aft cabin, I took away the companionway ladder and told the ladies to try and use the crawl through under the cockpit and get out the aft cabin.....
.... no access problems - even 3 at a time!
Having been a bit concerned about access through/to the aft cabin, I took away the companionway ladder and told the ladies to try and use the crawl through under the cockpit and get out the aft cabin.....
.... no access problems - even 3 at a time!
4/1/11
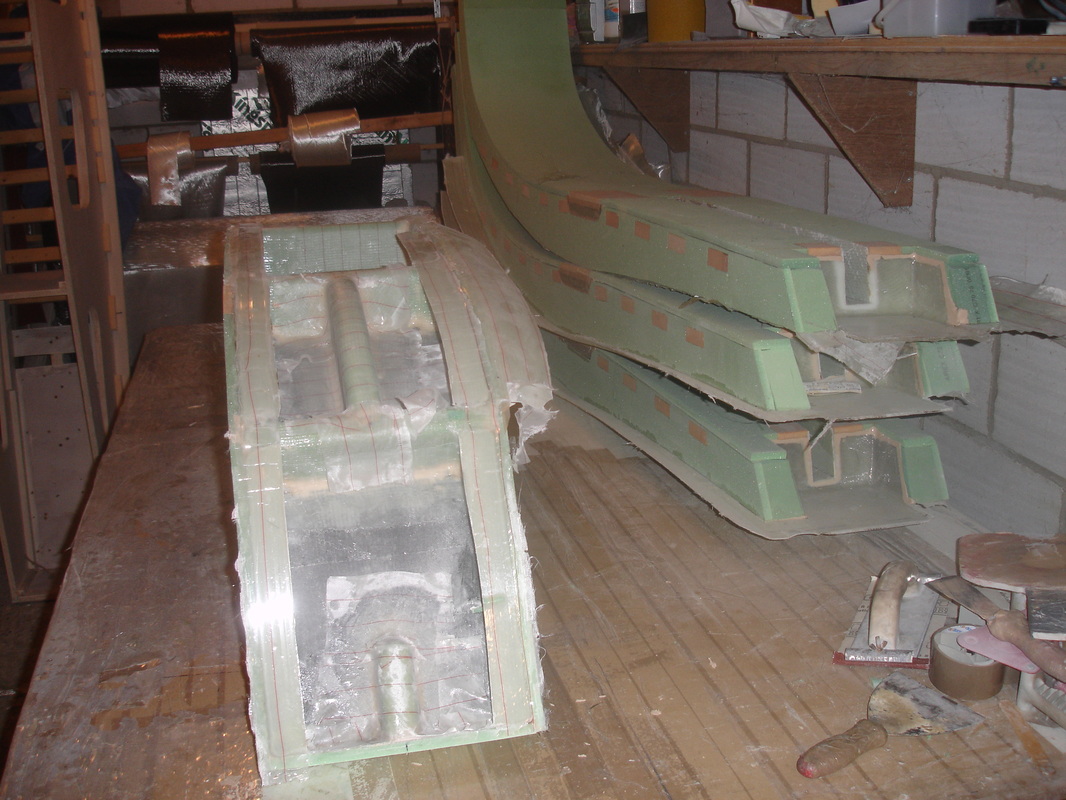
Bit of a manic Christmas break - really getting back into the build now - even did 5 hours on Xmas day!
Started using the beam mold...... and finished with it now!
The four beams are basically built, still lots to do on them though.
This was one of the parts of the build where I did not really have a picture in my head how it was going to all come together. I trial fitted and trimmed a pair of them to the main hull tonight - and they look great
13/2/11
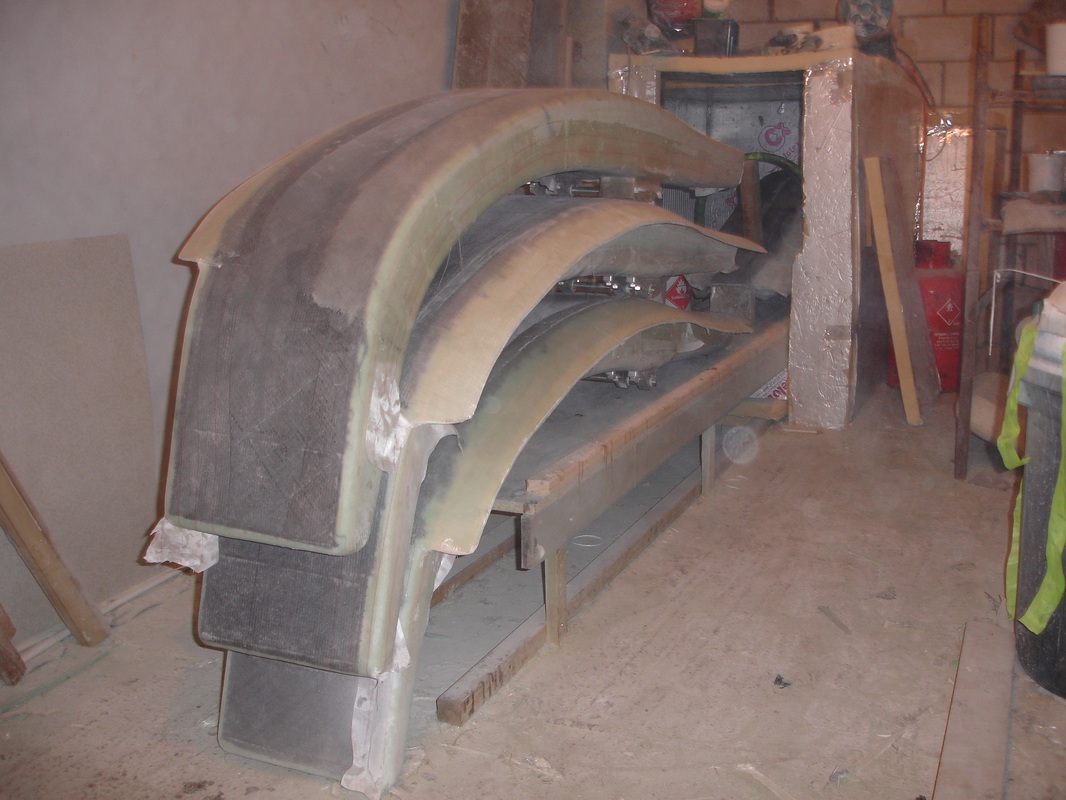
4 beams done! #4 is still in the oven
Its been a big job, there is a lot of work in the beams, stuff like fitting 4 Lower folding strut brackets can take a whole morning.
34 kg each including brackets and the long steel pin [And the extra reinforcing for float foils]
Next job is to get the paint jobs finished on the main hull so that it can be moved outside for assembly. Trees need to be cut down and the side wall of the shed demolished before this can happen too.
6/3/11
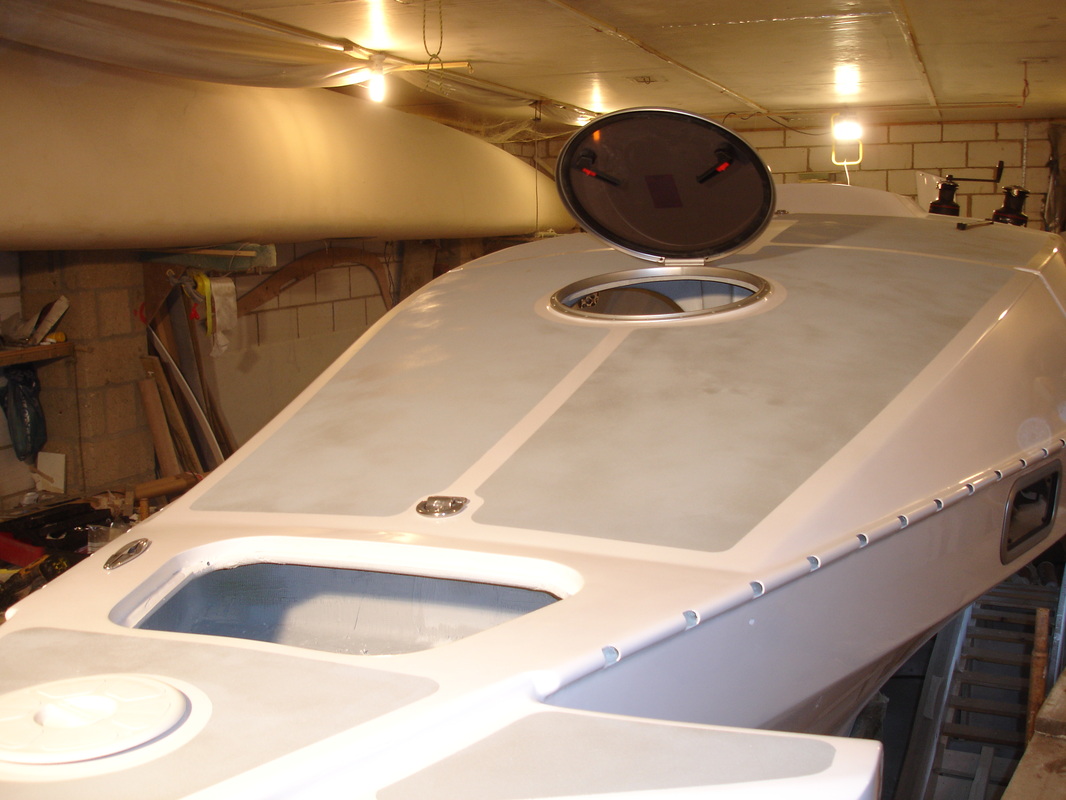
Non-slip is done - the main hull is painted!
Hatches and some of the deck gear are fitted
Side windows to fit and then the mission of getting the thing out of the shed can begin
Hatches and some of the deck gear are fitted
Side windows to fit and then the mission of getting the thing out of the shed can begin
9/4/11
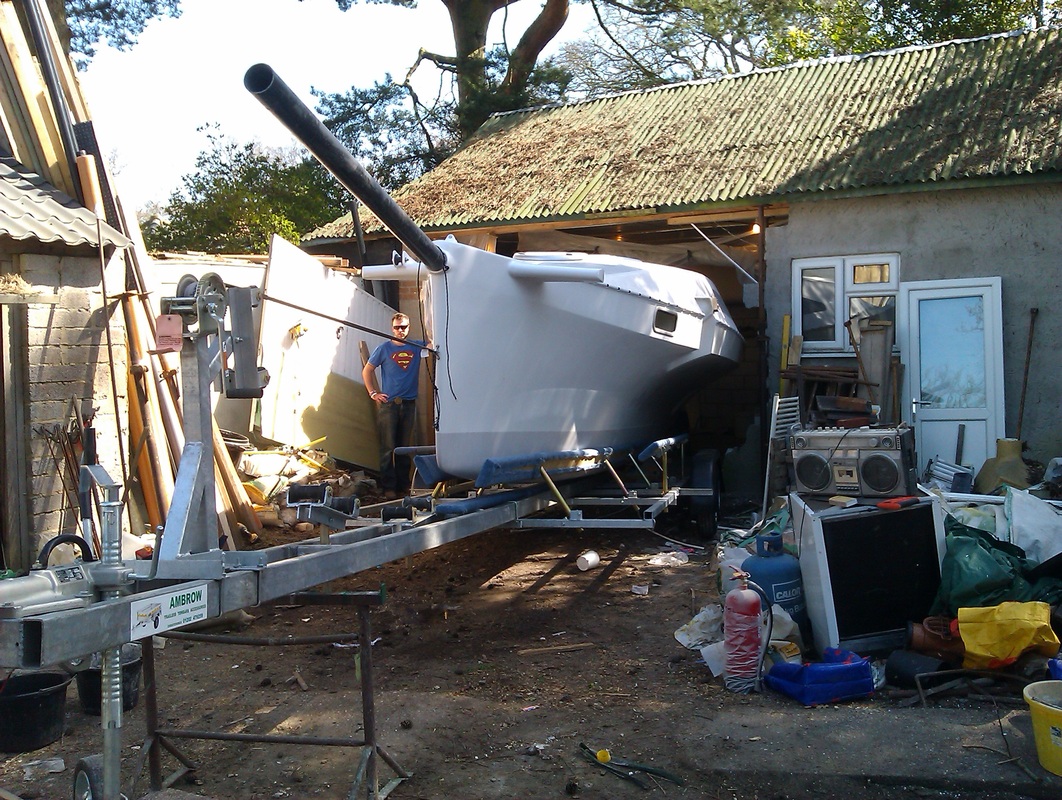
It was a complicated birth, the labour went on for a whole day!
After knocking down a bit more of the boatshed, just to make sure that nothing was put to chance, out she came
The plan was to lift the main hull up and slide the trailer underneath, but we decided that the hull was light enough to just winch it onto the trailer. All we had to do was keep it upright.
The confines of the shed have meant that I couldn't try the fit of the bowpole until now
10/5/11
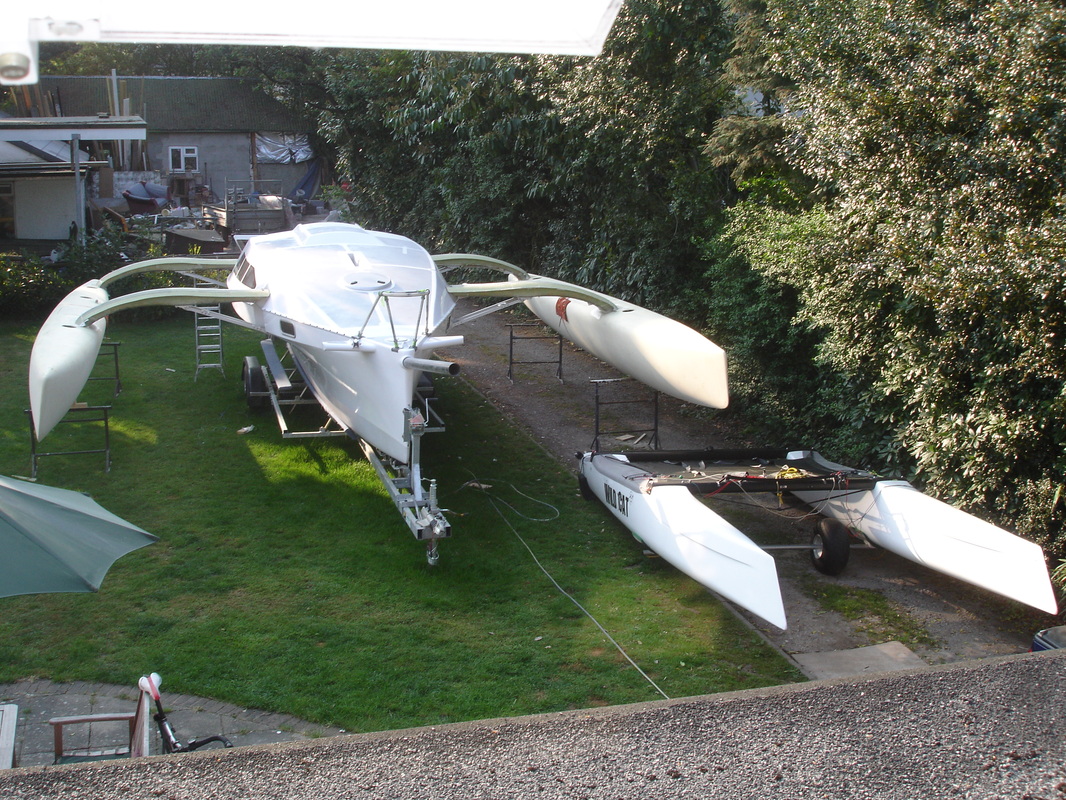
Beams and floats assembed and folding like a dream
Why would you want to sail a little thing like that without a toilet and a cooker?
Why would you want to sail a little thing like that without a toilet and a cooker?
12/6/11
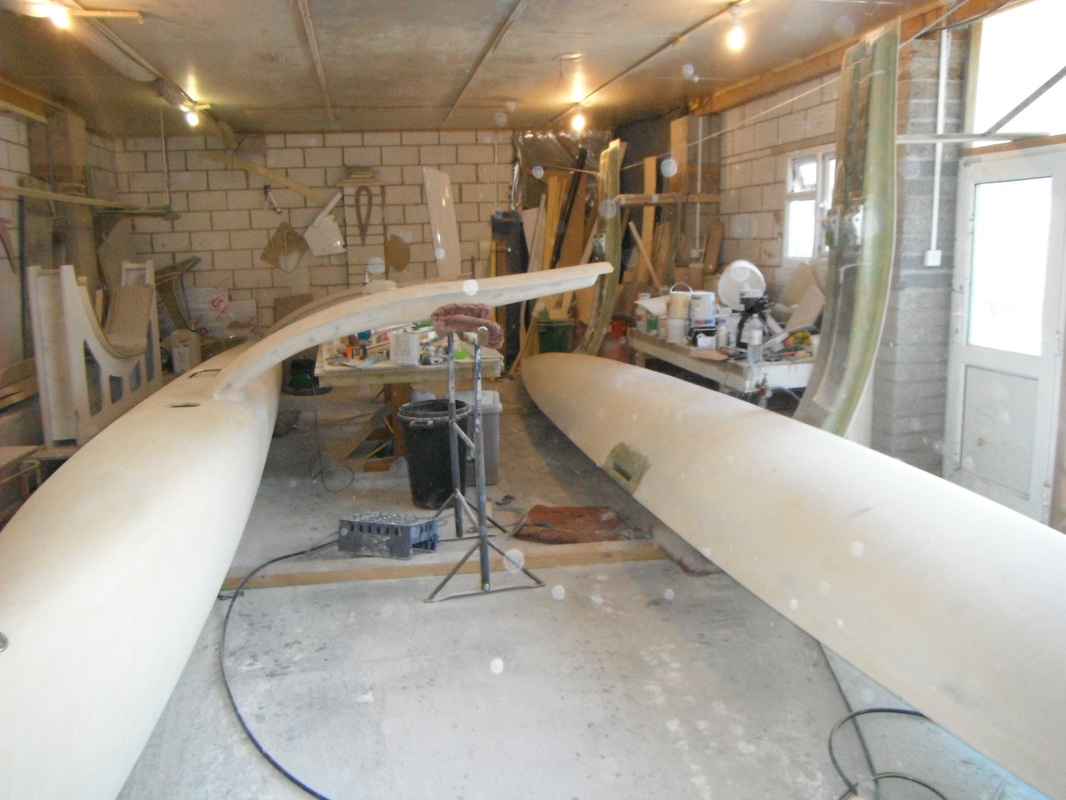
The float/beam assemblies take up so much room in the shed that I to flip them around each other to get stuff done
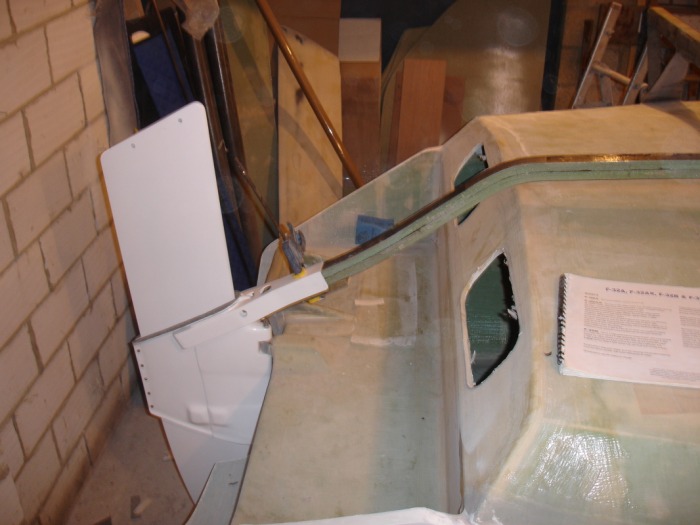
7/6/11
I decided to fit float foils after building the floats and realized that the hatches were in the way!
It took a bit of major surgery to cut them out and shift them aft, luckily the float is a fairly consistent width here so I go away with it.
The curved foam batten is a dummy for the foils so that I can position the cases without the foil fouling the side rails or tramp
I will laminate over the case openings so that the boat can be launched even if I don't have time to make the foils
15/8/11
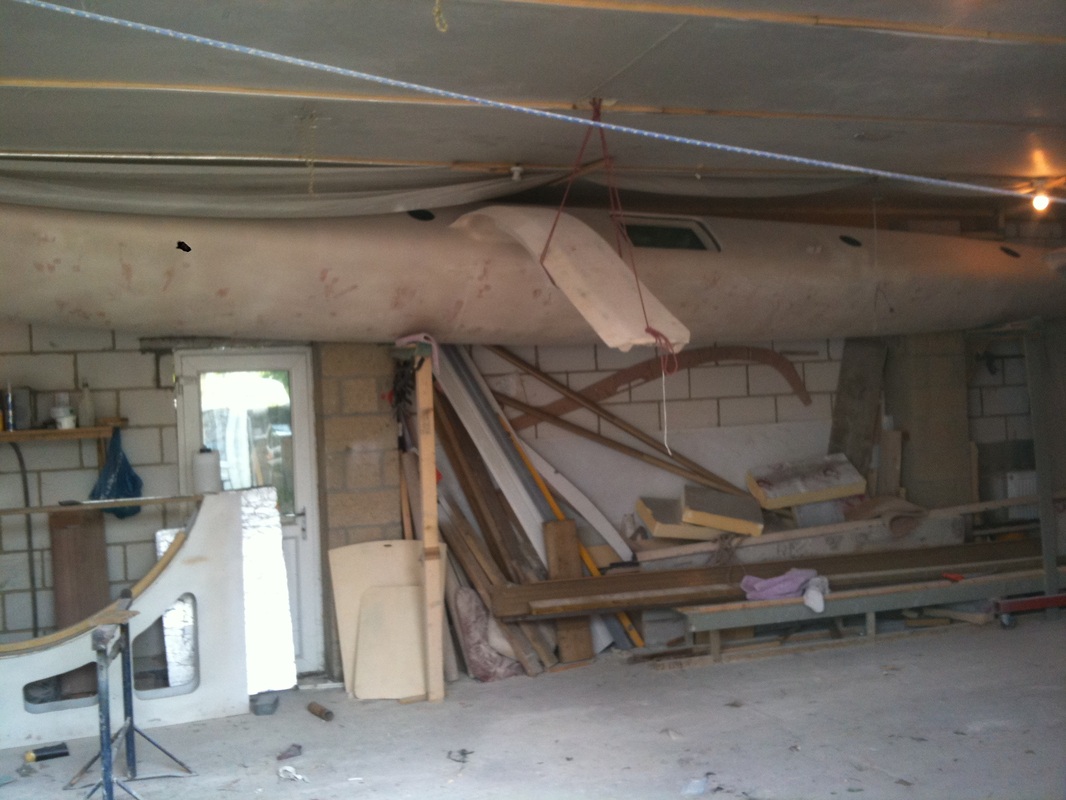
The starboard float/beams had to go up and out of the way so that I could suspend the port ones and get all around it to spray. Luckily it is not too heavy!
20/10/11
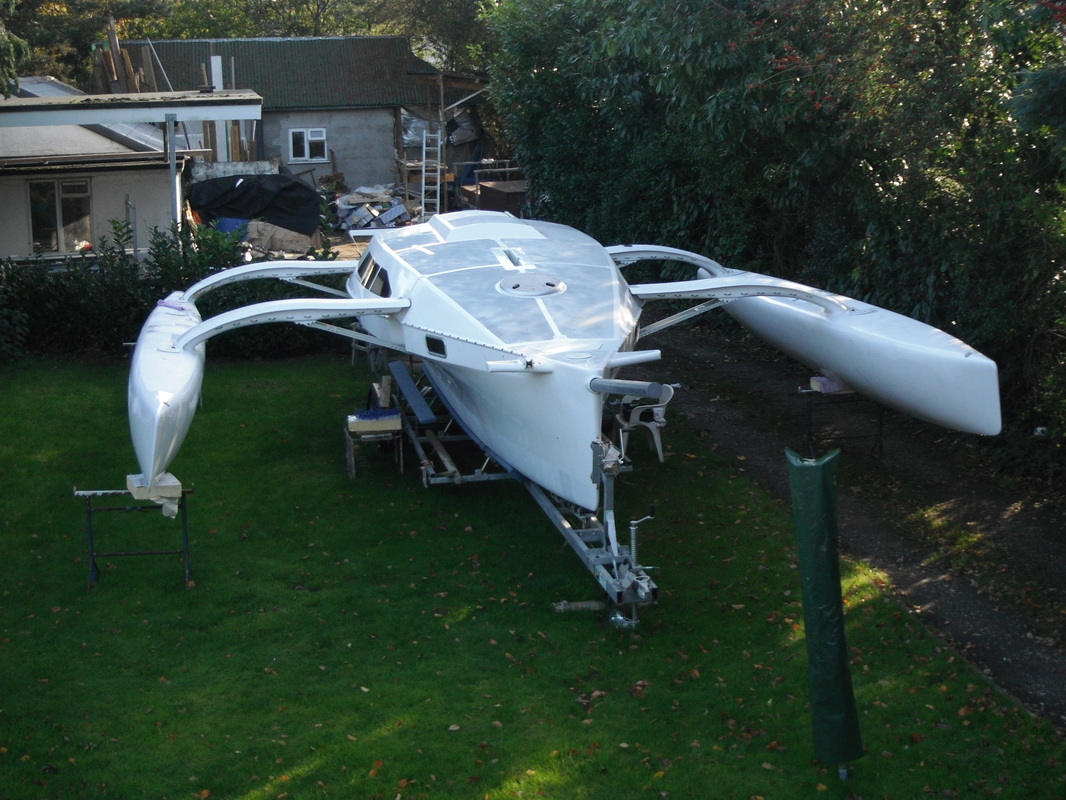
All painted and back together again
Lots of work in deck fittings, tramp lacing eyes and final bits of the folding system
Lots of work in deck fittings, tramp lacing eyes and final bits of the folding system
15/11/11
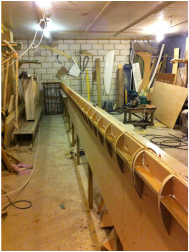
Making the former for the mast
I got the 80 foil shapes cut by CNC
Still tricky to get it all perfect.
4 YEARS TO THE DAY since I started!
I really need to get out sailing SOON!
I got the 80 foil shapes cut by CNC
Still tricky to get it all perfect.
4 YEARS TO THE DAY since I started!
I really need to get out sailing SOON!
29/12/11
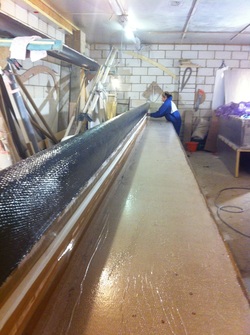
Claire helped with the mast lay-up
She is touching up the last layer of uni before vac-bagging and heating the first half of the carbon of the top section of the mast. The last layers are added tomorrow as trying to do it all in one hit lead to wrinkles on the test section.
The bottom section has been slid off of the mould and is up on the rack
